Adding an Annotation
An annotation can help highlight small, awkward to select components. When the operator selects an annotation linked to a component it registers a defect in the center of the component. Alternatively, annotation can simply be used to label different parts of the image or to act as reminders of what to look out for.
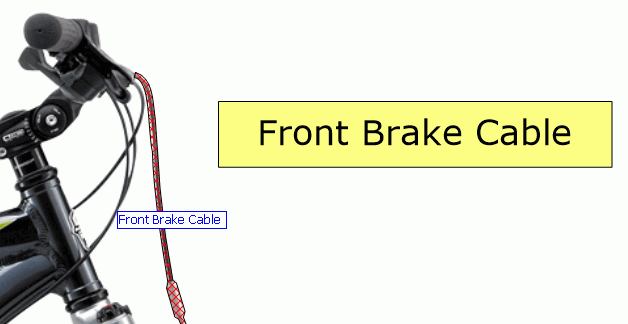
Here we will add an annotation and arrow for the Front Brake Cable.
Select the ATS Bike Brakes view.
Right click on the view and select Add Annotation in the context menu.
The annotation popup opens.
Enter Front Brake Cable in the Annotation Text and as the Description.
Select Component in the Association pane and then Front Brake Cable in the drop-down list.
Select Highlight Component for the annotation style.
Click OK.
Click on the view where you would like the top-left corner of the annotation to be.
The annotation is added to the view.

Adding an Arrow
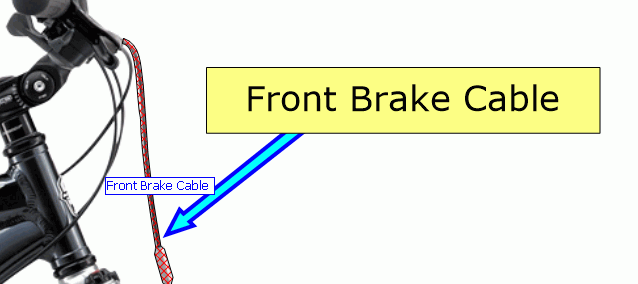
We will now draw an arrow from the annotation text box to the location of the component itself.
Right click on the view and select Add Arrow in the context menu.
Click and drag on the view to draw the arrow.
After you have drawn it you can still move the ends to get it into the right position.
You'll notice that if the end of the arrow and the annotation overlap the annotation stays in front. Annotations always stay in front of arrows.

Save and close the view.
Close View Composer.